Signing Consent Forms & Uploading Medical Documents
Last updated: August 21, 2026
A step-by-step guide for parents using the Alpaca Health parent portal: how to sign your consent and treatment documents—one at a time or in bulk—and how to upload the medical records your care team needs.
Everything below lives in the Alpaca Health parent portal. Sign in from your web browser and you’ll land on the Overview page. The menu on the left is grouped into Patient Progress, Parent Tools, and Patient information. If you care for more than one child, a row of child tabs runs across the top of the screen—most actions apply to whichever child’s tab is selected, so check that first.
Sign your consent and treatment plan
When you join Alpaca Health, you’re asked to review and sign a small set of consent and treatment documents and to provide a few required records. Everything that still needs your attention is gathered in one place so you can finish quickly.
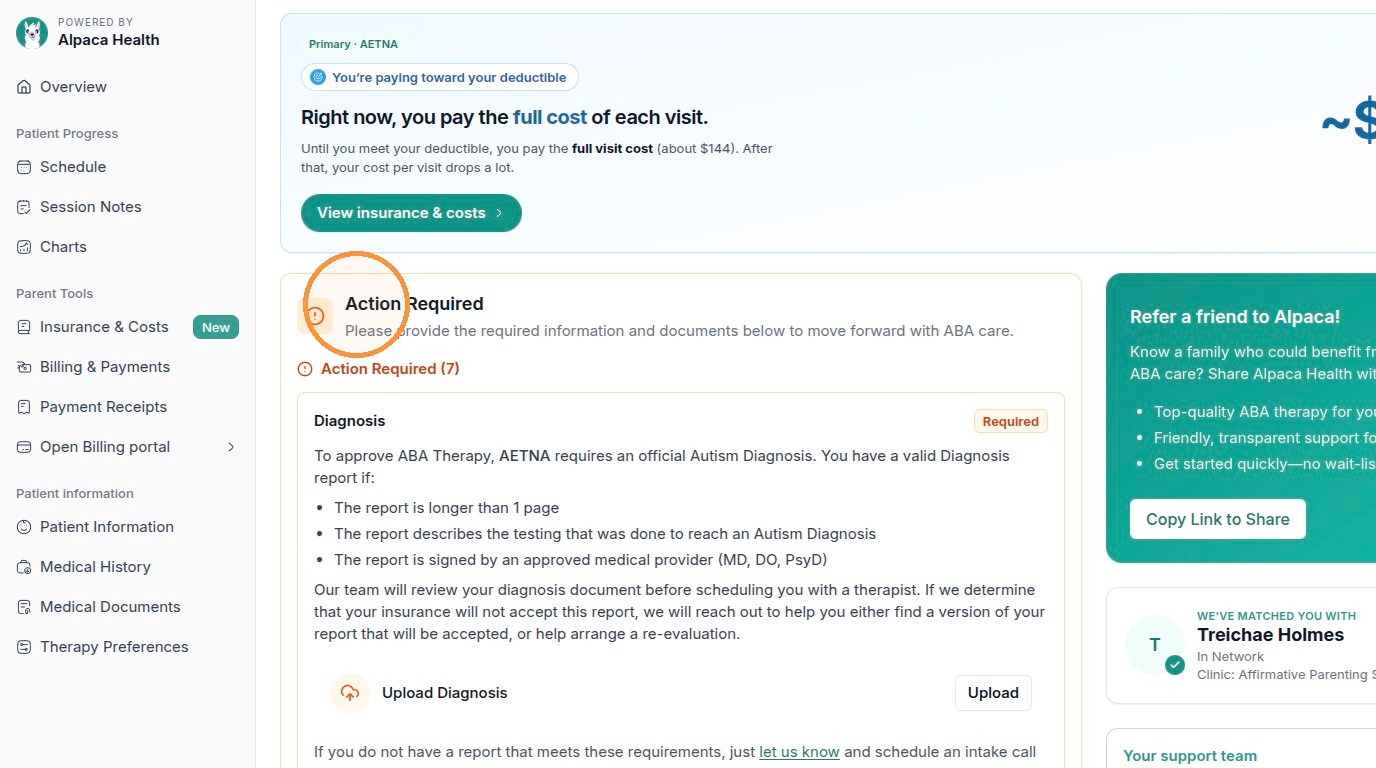
Start on the Overview page and scroll down to the Action Required card (it has an orange warning icon). The heading shows how many items are still outstanding—for example, “Action Required (7).” This card is your checklist: it pulls together the required documents and the intake paperwork you still owe.
The Action Required card on the Overview page lists everything still outstanding.
Signing the treatment plan
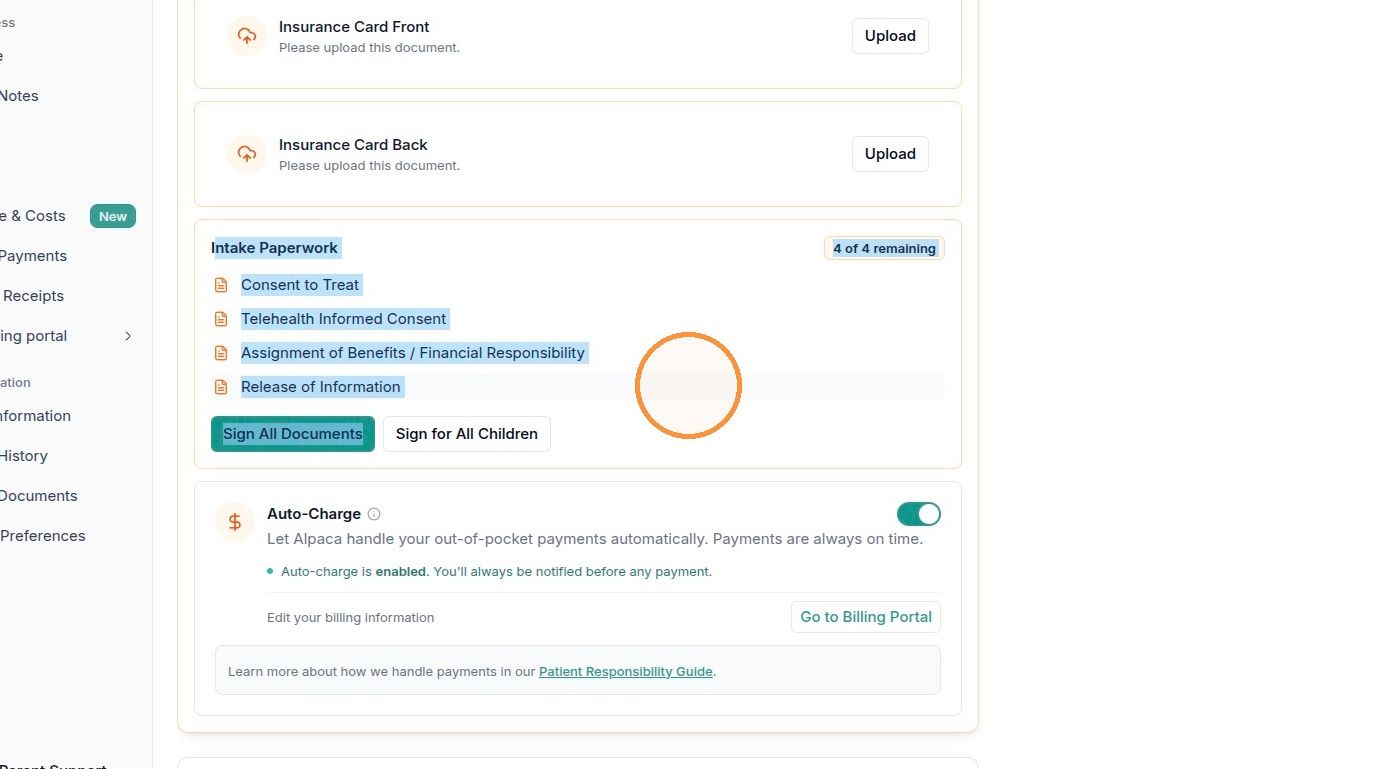
Scroll to the Intake Paperwork card on the Overview page. It lists the documents awaiting your signature—Consent to Treat, Telehealth Informed Consent, Assignment of Benefits / Financial Responsibility, and Release of Information. The badge on the right (for example, “4 of 4 remaining”) tracks how many are left.
The Intake Paperwork card. Click a document name to review and sign it individually.

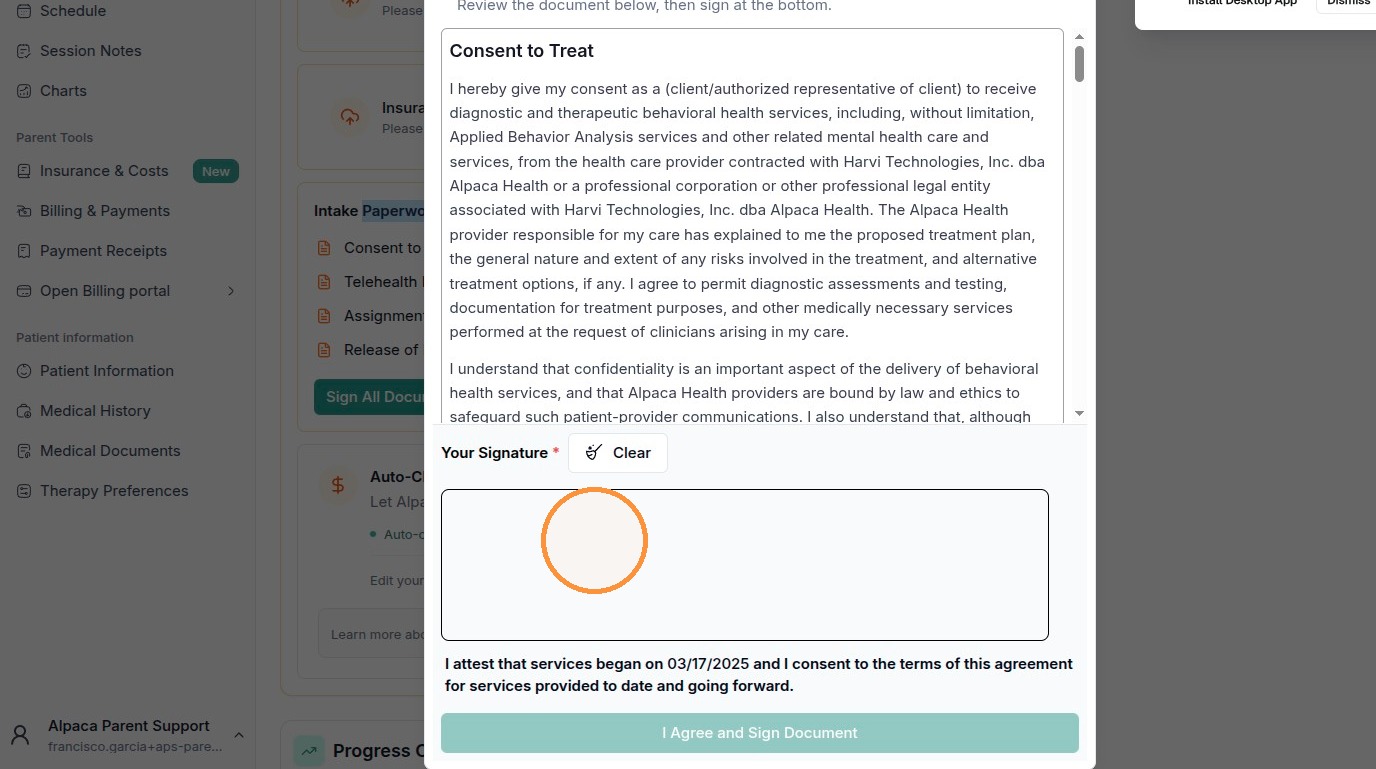
To review and sign one document at a time, click the document’s name (for example, Consent to Treat). A window opens with the full text.
Read the document. Use the scrollbar on the right side of the window to scroll all the way to the bottom.
In the Your Signature box, draw your signature with your mouse, trackpad, or finger. If you make a mistake, click Clear and try again.
Confirm the attestation line above the button (for example, “I attest that services began on … and I consent to the terms of this agreement”).
Click I Agree and Sign Document. The window closes, the document is marked signed, and the “remaining” count on the Intake Paperwork card drops by one.
Scroll to the bottom of the document, sign in the box, then click “I Agree and Sign Document.”
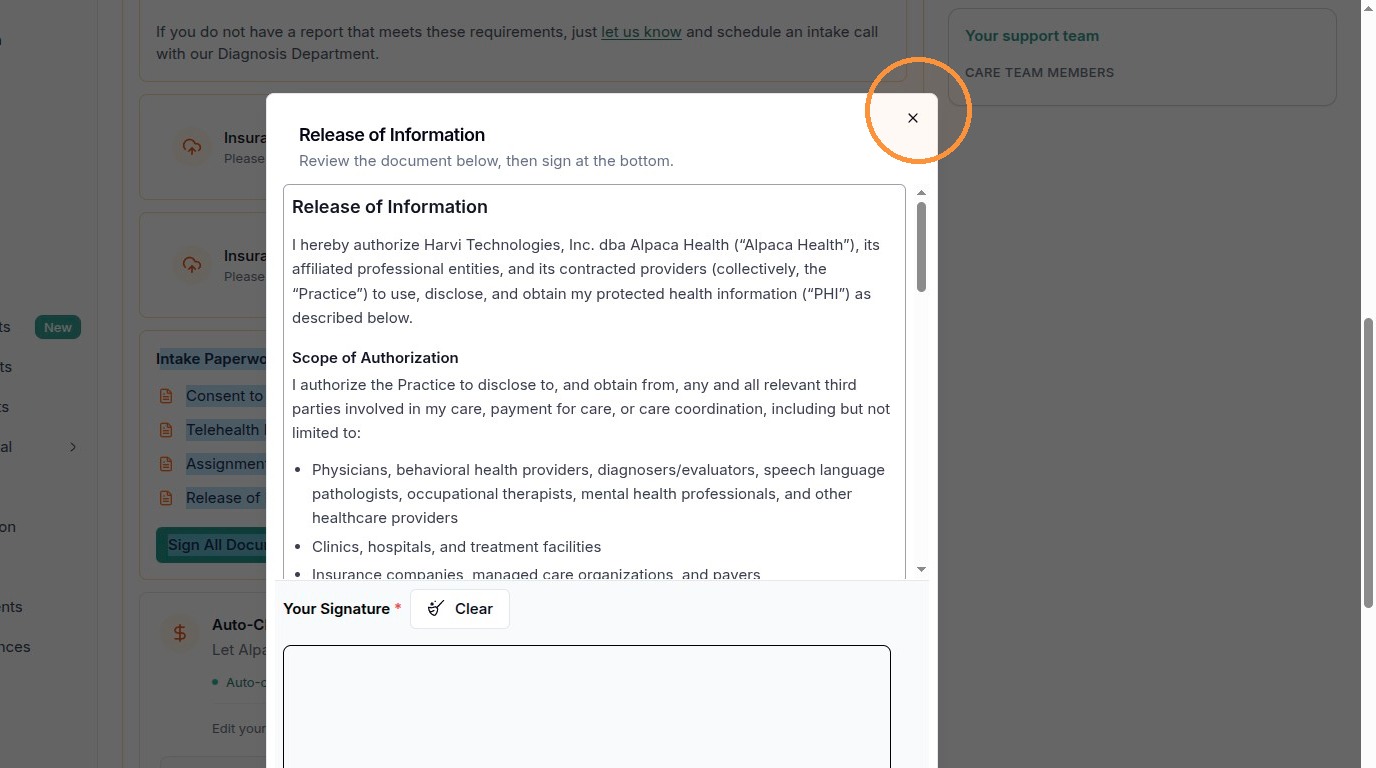
Good to know: Nothing is saved until you click I Agree and Sign Document. To leave a document without signing it, click Close or the X in the top-right corner of the window—your signature won’t be recorded and the document stays on your to-do list.
Every document opens the same way. Use Close (top-right) to exit without signing.
Intake paperwork and bulk sign
If you don’t need to read each form separately, you can sign several at once. There are two shortcuts on the Intake Paperwork card.
Sign all documents for the current child
Click Sign All Documents. You provide your signature once, and it’s applied to every outstanding document for the child whose tab is currently selected.
Sign All Documents applies one signature to every form for the child you’re viewing.
Sign for all of your children at once
If you care for more than one child, click Sign for All Children so you don’t have to repeat the paperwork for each one.
Sign for All Children signs the intake paperwork for every child on your account.

Click Sign for All Children. A window titled “Sign Intake Documents for All Children” opens.
Review the summary at the top (for example, “32 unsigned documents across 8 children”) and scroll through the list, which is grouped by child and shows each pending document.
Scroll to the Your Signature box at the bottom, sign once, and confirm. Your signature is applied to every document listed, for every child.
The bulk-signing window summarizes how many documents remain and lists them per child.

Heads up: Sign for All Children signs on behalf of every child shown in the window. If you only mean to sign for one child, close this window and use Sign All Documents (or sign each document individually) on that child’s tab instead.
Uploading medical documents
Besides the required items on the Overview page, you can upload and manage records anytime from the Medical Documents page.
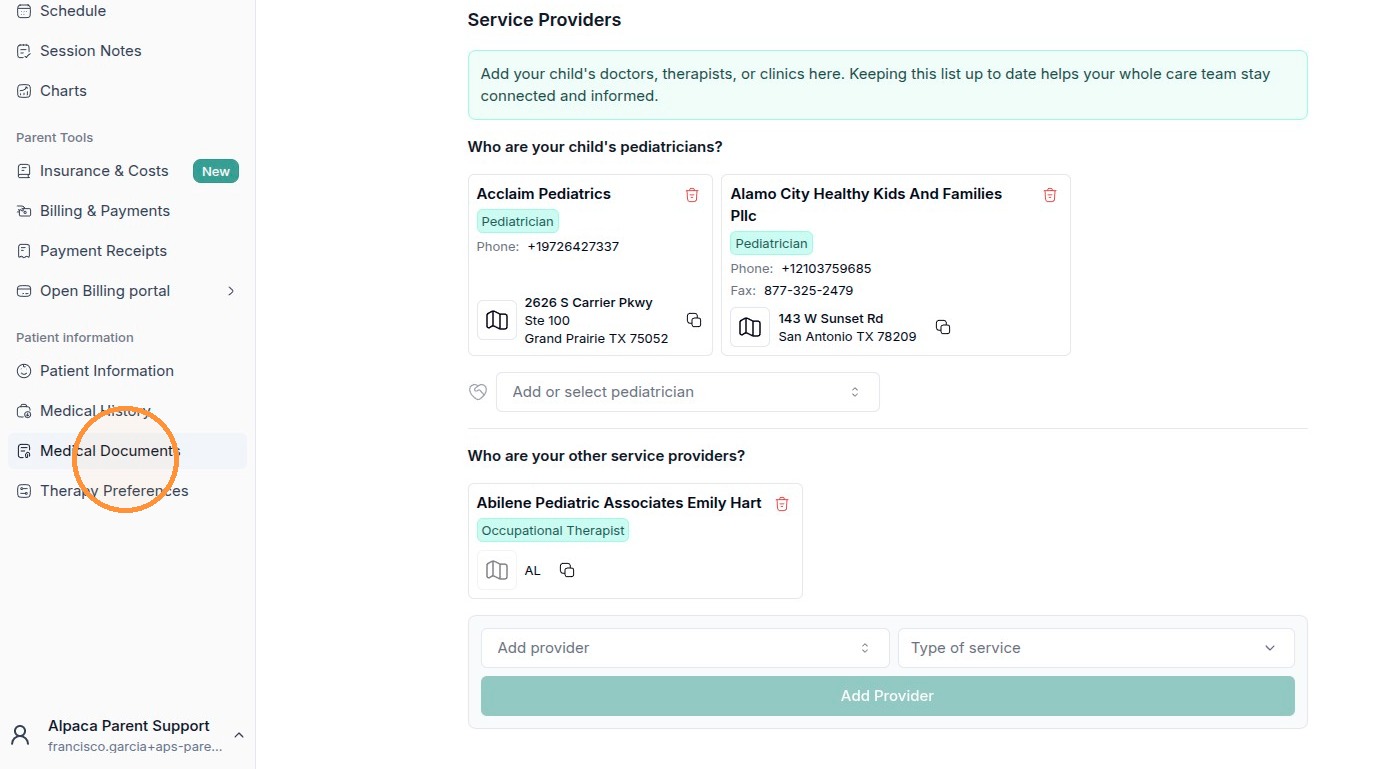
In the left menu, under Patient information, click Medical Documents. (If you have more than one child, first select the correct child’s tab across the top so the file is saved to the right record.)
Open Medical Documents from the Patient information section of the left menu.
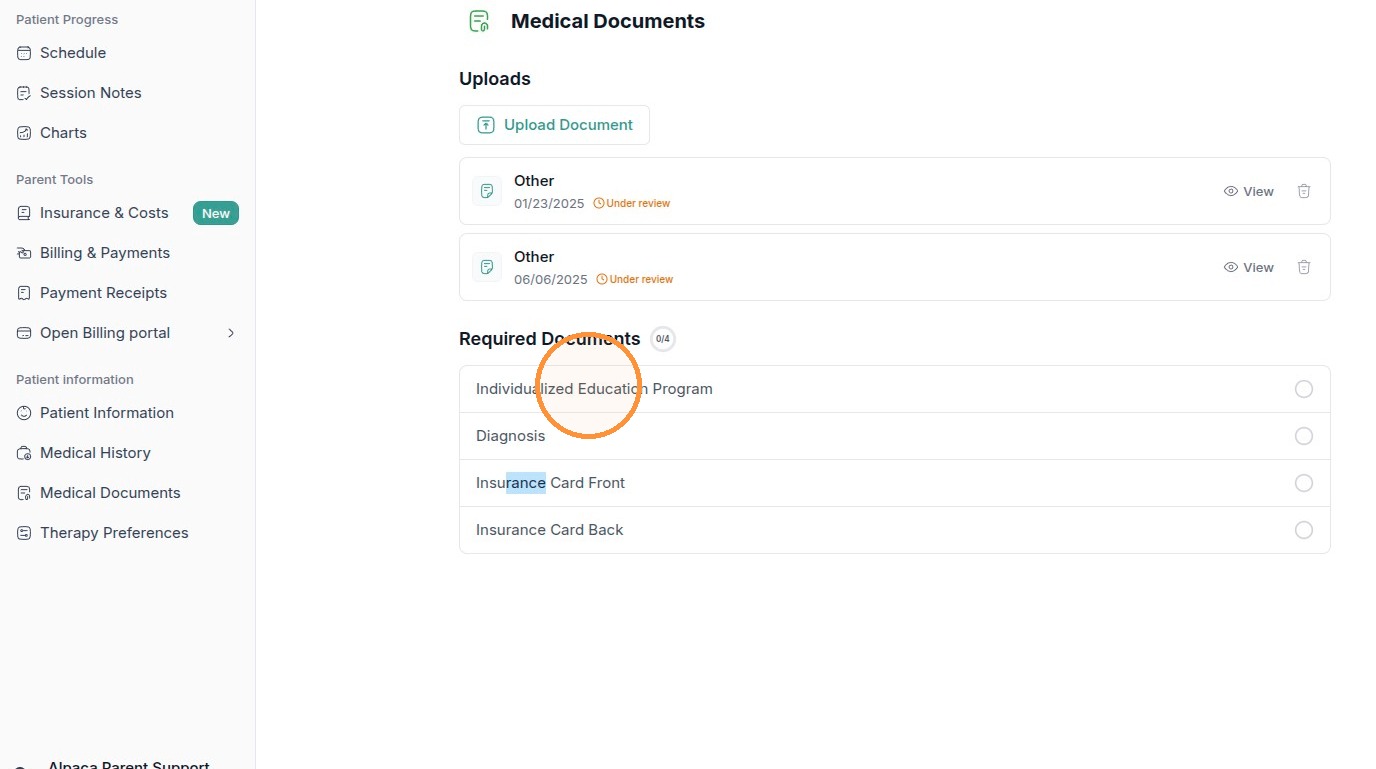
The Medical Documents page has two parts:
Uploads — documents you’ve already added, each showing its type, date, and status (for example, “Under review” while the care team checks it).
Required Documents — a checklist of records the clinic needs, with a counter such as 0/4: Individualized Education Program, Diagnosis, Insurance Card Front, and Insurance Card Back.
The Medical Documents page: your Uploads on top, the Required Documents checklist below.
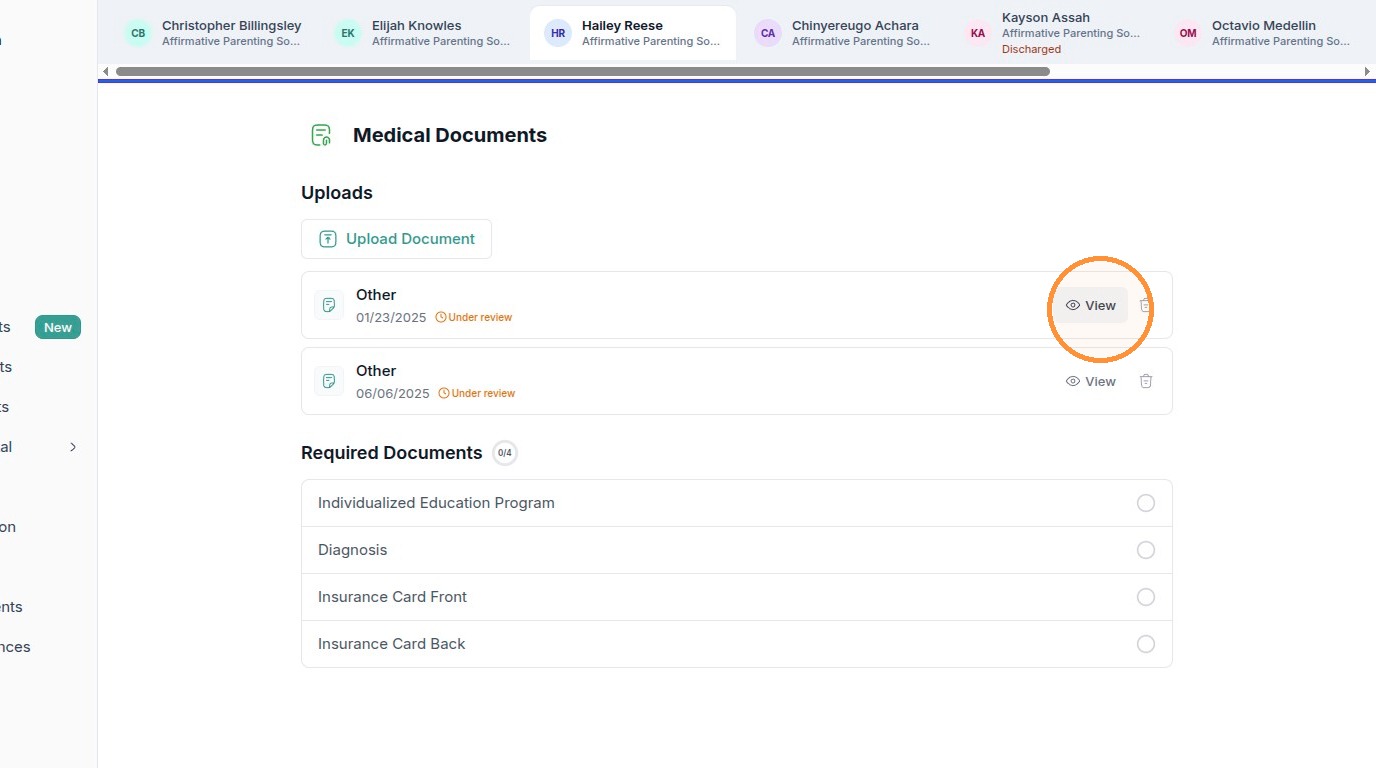
To open a document you’ve already uploaded, click View next to it. A preview opens where you can read or Download the file; click Close in the top-right corner when you’re done.
Click View to open a document you’ve already uploaded.
The preview lets you read or download the file. Click Close to return to the list.

To add a new record:
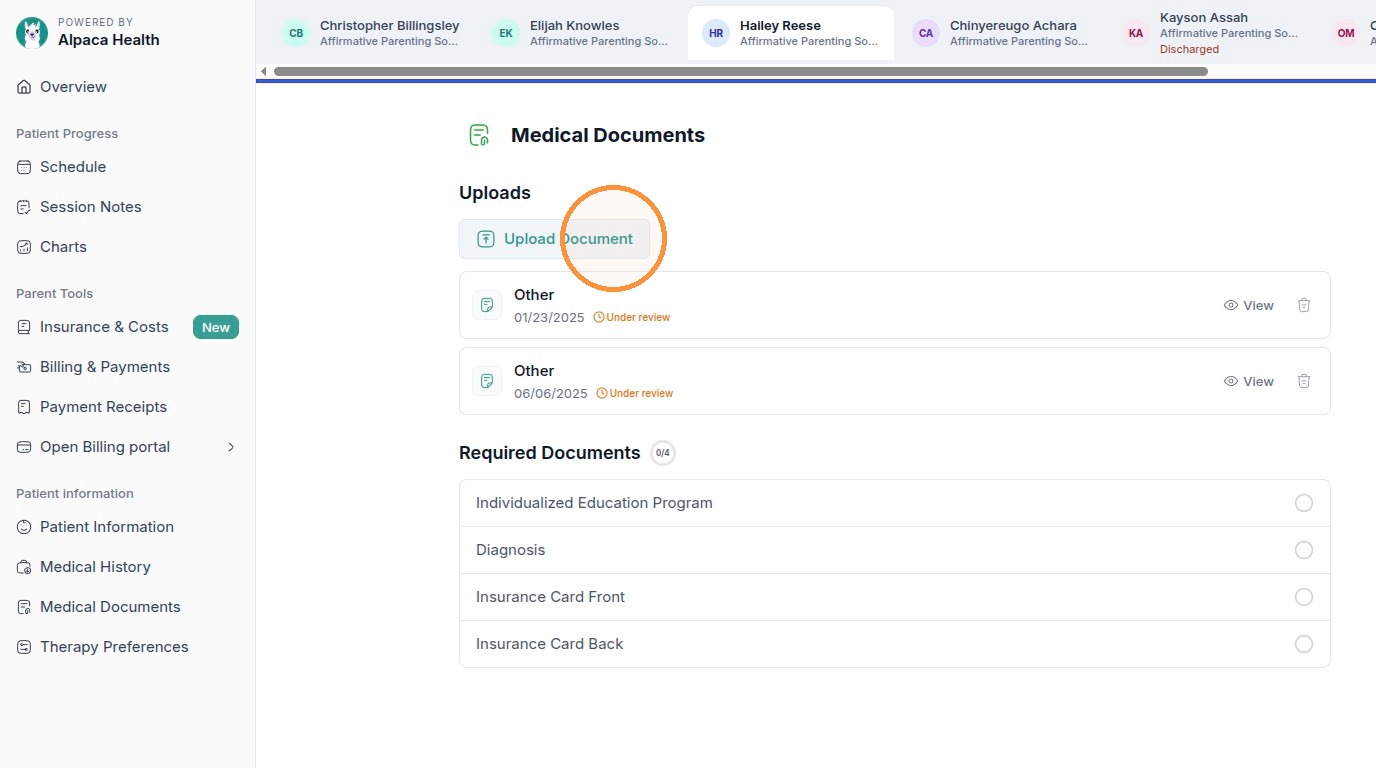
Click Upload Document at the top of the Uploads section.
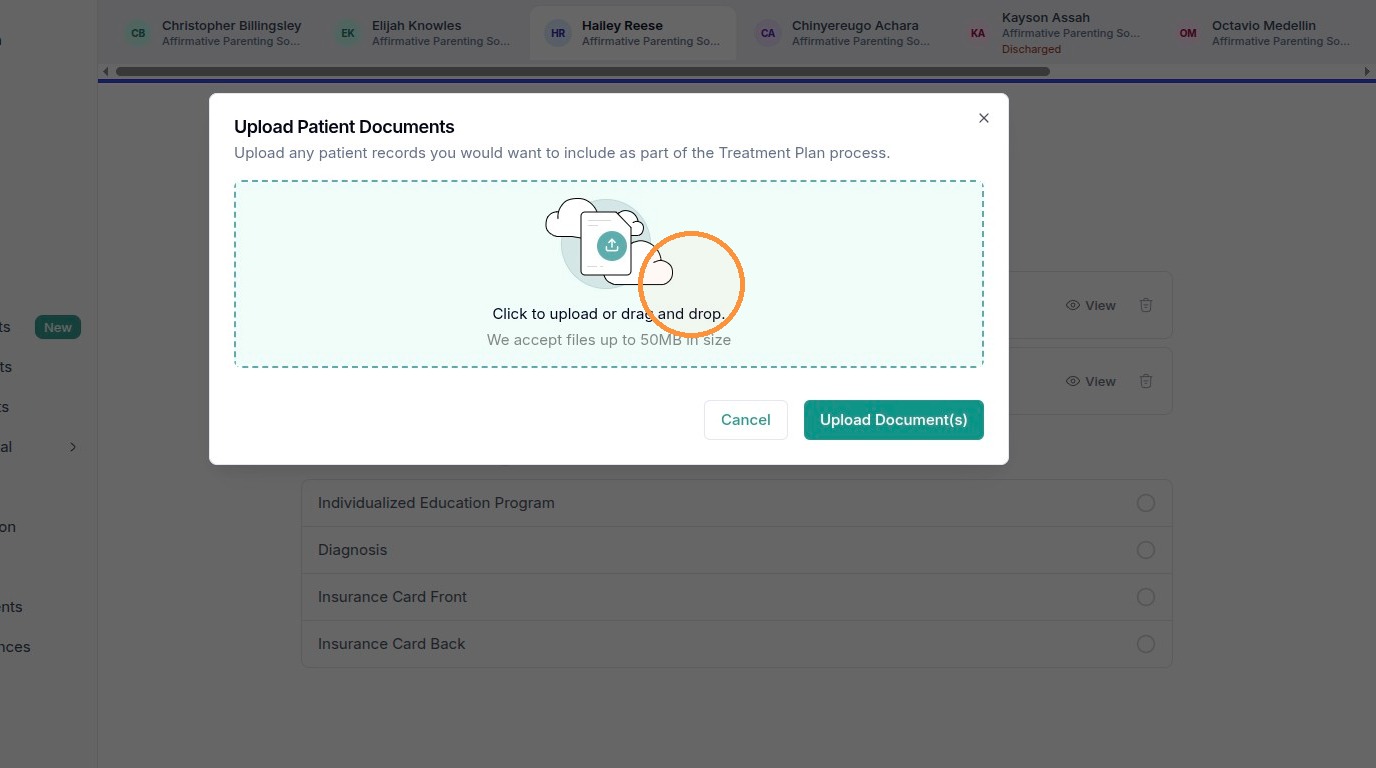
In the Upload Patient Documents window, click the dashed box to browse your device, or drag and drop files onto it. Each file can be up to 50 MB.
Click Upload Document(s) to finish (or Cancel to back out). Your file appears under Uploads, usually marked “Under review” until the care team confirms it.
Click Upload Document to add a new file.
Click the dashed area to browse, or drag files in, then click “Upload Document(s).”
Good to know: Documents you add here are included in your child’s Treatment Plan process, so upload anything that helps the team—school IEPs, prior evaluations, or reports.
Urgent uploads
Some records are needed before your child’s care can be scheduled. These urgent items appear in the Action Required card on the Overview page, each marked with an orange Required badge—most often an official Diagnosis report and your insurance cards (front and back).
To submit an urgent document, click the Upload button next to the item (for example, Upload next to “Upload Diagnosis”) and choose the file from your device. The Diagnosis section also explains what makes a report acceptable: it should be longer than one page, describe the testing that led to the diagnosis, and be signed by an approved provider (MD, DO, or PsyD).
Urgent, required uploads live in the Action Required card. Click Upload next to each item.

Heads up: Don’t confuse the small “let us know” text in the Diagnosis section with the Upload button. “Let us know” is for contacting the Diagnosis Department when your report doesn’t meet the requirements; to submit a report you already have, use the Upload button on the right.