6.5 Generate a treatment plan with AI
Last updated: October 20, 2026
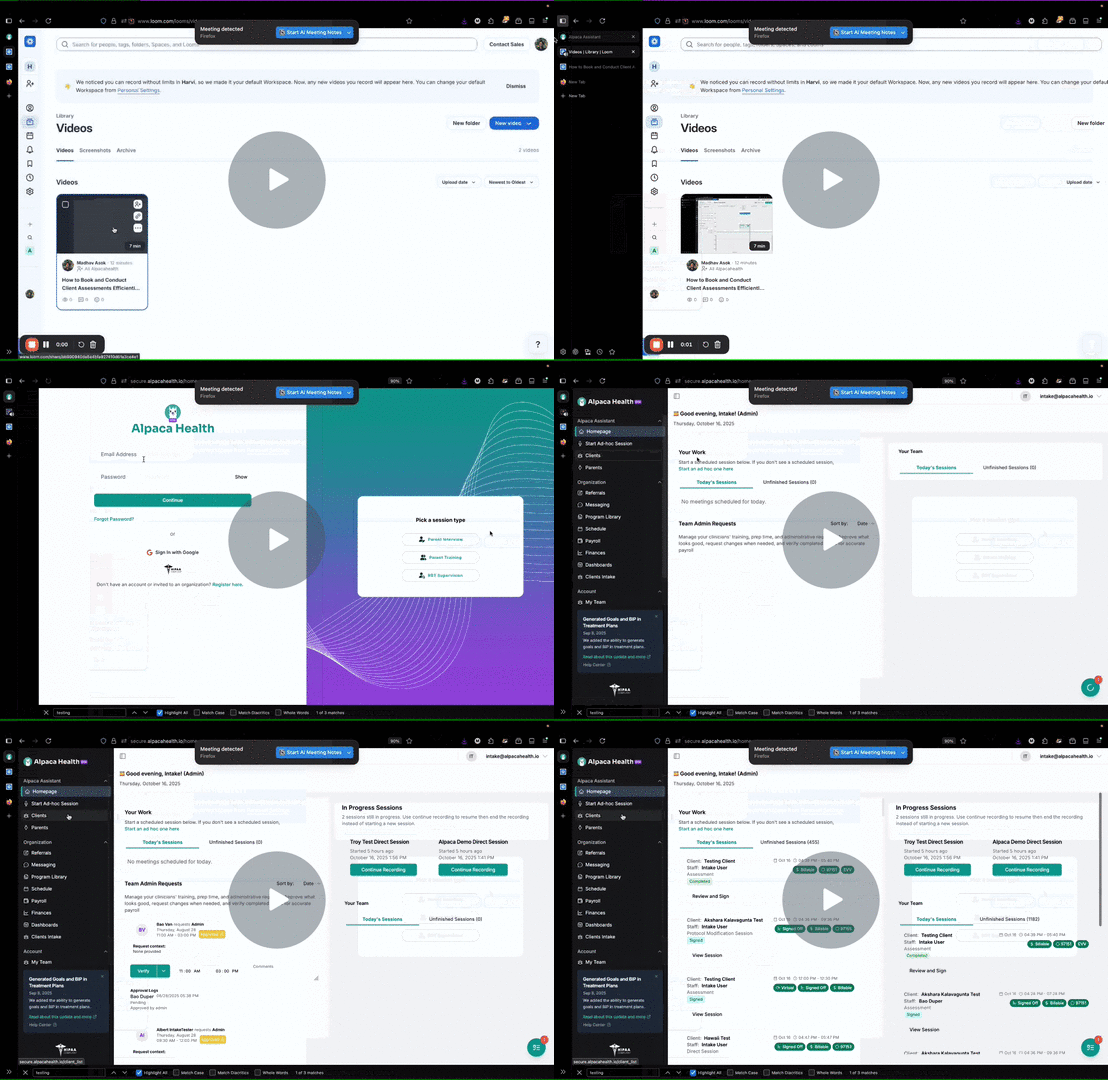
How to Create a Treatment Plan Using Alpaca AI 🦙 - Watch Video
Objective
This SOP outlines the steps to create a treatment plan using the Alpacas AI Treatment Plan Builder, ensuring all necessary information is collected and formatted correctly for submission.
Starting with a plan written outside Alpaca? When your clinic has the workflow enabled, you can reuse an uploaded PDF or Word plan in a new treatment plan or reassessment. Follow Start a treatment plan or reassessment from earlier information for the steps and review requirements.
Key Steps
Step 1: Access the Treatment Plan Section (0:01)
Navigate to the Alpaca client. Click on the Treatment Plan section. Choose to create a new treatment plan or review an existing one.
Step 2: Review Client Information (0:24)
Confirm the client's name, caregiver's name, and supervising BCBA. Upload interview recordings or files (at least one is required).
Step 3: Upload Assessment Files (0:50)
Include diagnosis, referral reports, and any relevant files. Select assessments for individual write-ups (e.g., VB-MAPP, Vineland). Provide an example document for AI-generated assessment write-ups.
Step 4: Generate Treatment Plan (2:07)
Start with a blank page and click Generate Treatment Plan. Wait 5 to 10 minutes for the AI to generate the report.
Step 5: Edit Generated Report (2:30)
Review the generated report and edit any fields as necessary. Use default text if specific information is not available.
Step 6: Set Priorities (3:40)
Fill out preferences for writing FBAs, BIPs, and goals. These settings are optional and will apply to all future treatment plans.
Step 7: Behavior Planning (4:31)
Provide at least one behavior for reduction (e.g., tantrum, aggression). Choose to generate BIPs via AI or write manually.
Step 8: Review and Edit BIPs (5:32)
Review AI-generated BIPs and edit as necessary to ensure clinical accuracy.
Step 9: Set Treatment Goals (6:20)
Generate treatment goals based on program types (skill acquisition, behavior reduction, etc.). Review and select suggested goals.
Step 10: Add Screenshots (8:24)
Upload any required or optional screenshots for assessments.
Step 11: Set Service Units (9:00)
Specify the number of service units for each CPT code (e.g., 100 units). Choose the frequency (weekly, monthly, or authorization period).
Step 12: Export Treatment Plan (10:00)
Choose to export the treatment plan. Confirm formatting and ensure all sections are included.
Audit Your Plan Before You Submit: the Treatment Plan Auditor
Before a plan goes to the payer, Alpaca runs it through a Treatment Plan Auditor, an AI reviewer that reads your drafted plan the way a payer's reviewer would and flags anything likely to trigger a request for more information or a denial.
Think of it as a second set of eyes that checks the plan is internally consistent and defensible: that goals are clinically justified and measurable, that reduction targets tie to the behaviors and assessments you documented, that medical necessity is supported, and that nothing required is missing or contradictory.
Work the auditor's flags before you submit:
Review each flagged item and either fix the plan or confirm it's justified as written.
Treat the audit as a quality gate, not a rubber stamp. Clearing it makes a clean authorization far more likely and saves a re-work loop with the payer.
Note: The auditor assists your clinical judgment; it does not replace it. You remain responsible for the clinical accuracy and appropriateness of the plan.
Step 13: Submit Treatment Plan (11:12)
Once finalized and the audit is clear, submit the treatment plan through Alpaca for prior authorization.
Cautionary Notes
Ensure all required fields are filled out to avoid delays in processing.
Review AI-generated content thoroughly to maintain clinical accuracy.
Tips for Efficiency
Save your progress frequently to avoid losing any information.
Use templates for common goals and behaviors to streamline the process.
Run the Treatment Plan Auditor early, not just at the end. Fixing flags as you go is faster than a big cleanup before submission.
Complete the authorization request after finalizing
Finalizing saves the plan of record; it does not submit an authorization request. Return to the client's Treatment Plans tab and select Submit on the saved plan. Review the selected PDF, create the request, and complete the form's final submission action. Resume unfinished requests from the same tab.
Follow the full submission guide (6.9) for required documents, service-code review, and request statuses. Submitted for processing does not mean payer approval.
Choose how to add goals
October 20, 2026 update: The updated controls below are included in the October 20 release. They may not appear until the update is available in your app. Your existing library and plan workflows remain available.
On Goals, use Generate Goals, Import client programs, or Browse library. In a reassessment, use Program Selection for existing client programs and Create New Programs for new goals.
Generated goals can propose teaching instructions, prompting, error correction, reinforcement and generalization details. Open Edit to review and tailor them. Generation does not supply observed baseline data.
Open Suggested to choose generated goals. If saved programs have similar names, you can choose Review in library to inspect one before adding it. Generated goals remain available independently.
Complete observations and targets when appropriate
Clinical Observation can be left blank while you continue to Priorities and Behavior Planning. Return when the observation has been collected; do not enter placeholder clinical text just to continue.
A plan goal can have zero targets. Other required goal fields still apply. The review screen may prompt you to add targets, and selecting a suggested goal can start target generation. Live program setup for session data collection is separate from documenting the plan. This explains Alpaca's behavior; it does not establish a payer's requirements.
Keep goal and target statuses separate
When changing a goal status, review the choice about updating its targets. Keep target statuses unchanged when only the goal's status should change.