Reassessment Reports: How to Generate and Export a Reassessment Document
Last updated: February 27, 2026
What Is a Reassessment Report?
A reassessment report is a document you generate in Alpaca that summarizes a client's progress across their programs. It includes client demographics, diagnosis, insurance information, caregiver details, and — most importantly — data charts showing how the client has performed over a date range you choose.
You select which programs and chart types to include, and Alpaca generates a downloadable Word document (.docx) with everything assembled for you.
How to Create a Reassessment Report
Step 1: Start a New Reassessment
Navigate to your client's profile.
Open the Reports tab.
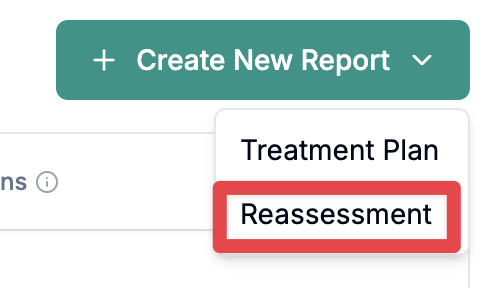
In the reports list, click the Create New Report dropdown.
Select Reassessment.
You'll be taken to the reassessment builder, which has two steps: Program Selection and Document Export.
Step 2: Select Programs and Chart Options
This is where you choose what data to include in your report.
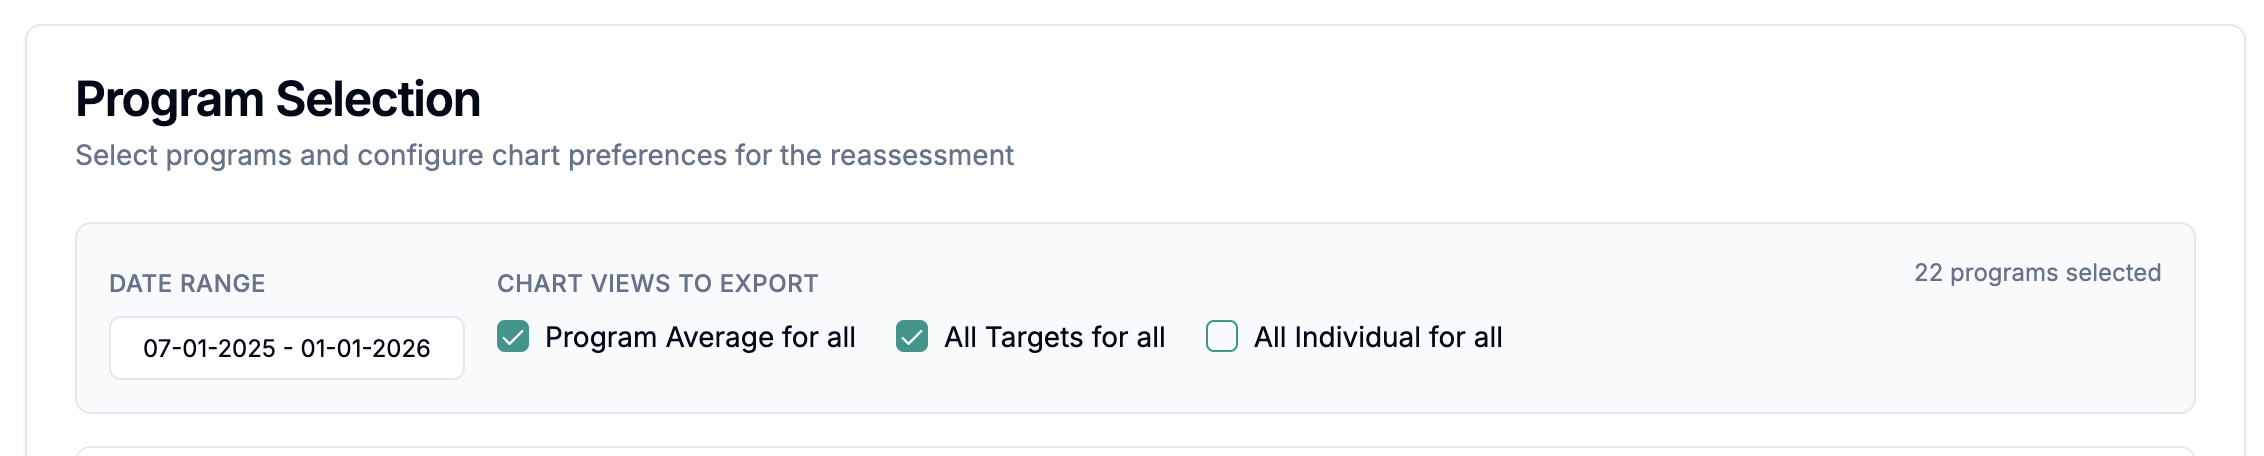
Set Your Date Range
At the top of the page, use the date pickers to select a start date and end date. This defines the time period for the data shown in your charts.
Once you set a date range, Alpaca will automatically check the box next to any program that has recorded data within that range.
Select or Deselect Programs
Each program appears as a row in the table.
Use the checkbox on the left to include or exclude a program from the report.
Selected programs are highlighted with a teal background.
A counter at the bottom shows how many programs are currently selected.
Programs with no recorded data will display a warning label.
Choose Chart Types for Each Program
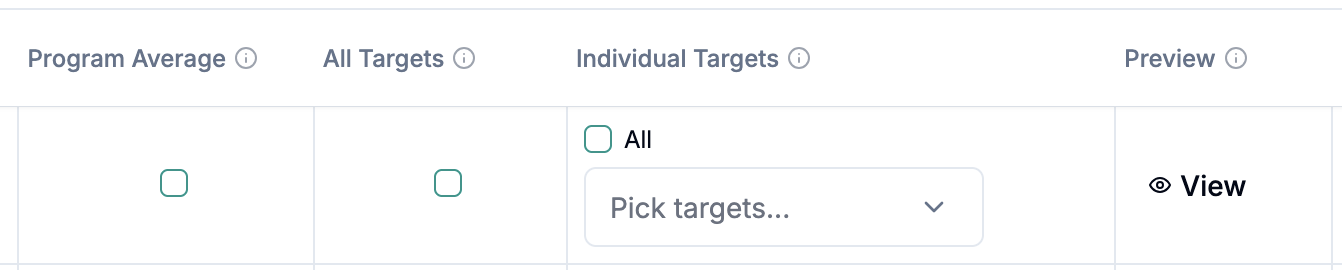
For every selected program, you can toggle which charts to include:
Chart Option | What It Shows |
Program Average | A single line chart showing the overall average across all targets in the program. |
All Targets | A combined chart with one line per target, overlaid on the same graph. |
Individual Targets | Separate charts for specific targets you select from the dropdown. Use the "All" checkbox to include every target, or pick specific ones. |
Apply Settings to All Programs at Once
At the top of the settings section, there are three global toggles:
Program Average for all — turns on the program average chart for every selected program.
All Targets for all — turns on the all-targets chart for every selected program.
All Individual for all — selects all individual target charts for every selected program (this will increase report size).
Preview Charts Before Exporting
If you want to see what a chart looks like before including it in the report:
Click the View button on any program row.
A preview dialog will open showing the chart.
Use the tabs at the top of the preview to switch between Program Average, All Targets, and Individual Target views.
Close the preview when you're done — it won't change your selections.
Continue to Export
Once you've set your date range and selected at least one program, click Continue to Export at the bottom of the page. Your selections will be saved automatically.
Step 3: Generate and Download Your Document
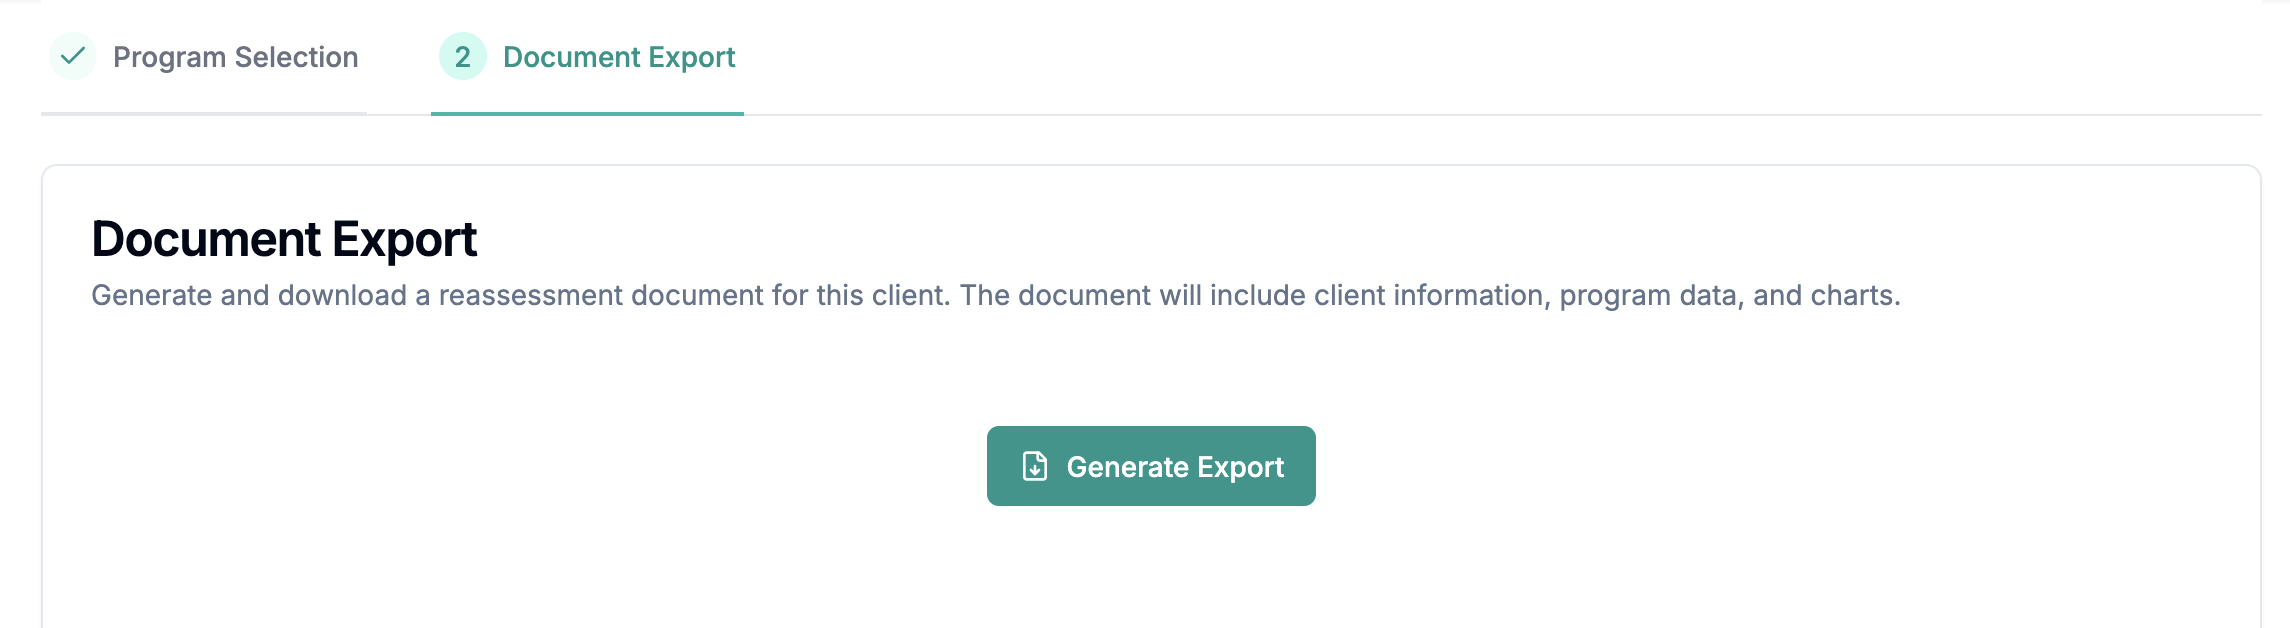
After moving to the Document Export step, you'll see a Generate Export button.
Generating the Document
Click Generate Export.
A progress bar will appear showing the export status.
The export runs in the background — Alpaca is assembling your client information, building charts, and creating the Word document.
This process may take several minutes depending on how many programs and charts you selected.
You have two options while the export is running:
Stay on the page — your document will automatically download to your computer when it's ready.
Leave the page — the export will continue in the background. When it's finished, you can find the completed document in the client's Documents tab.
When the Export Finishes
A green checkmark and success message will appear.
The document will download to your computer automatically (if you stayed on the page).
The file will also appear in the Exported Documents list at the bottom of the page.
If Something Goes Wrong
An error message will appear in a red box.
Click Retry Export to try again.
Step 4: Access Your Exported Documents
There are two places to find your exported reassessment reports:
From the Reassessment Page
At the bottom of the Document Export step, you'll see an Exported Documents section listing every document you've generated for this reassessment. Each entry shows:
The file name
The date and time it was created
A download button
Click the download button to save a copy to your computer.
From the Client's Documents Tab
Go to your client's profile.
Open the Documents tab.
Your reassessment exports will appear in the documents table alongside any other uploaded files.
From here you can view, download, or manage the file.
What's Included in the Exported Document
The generated Word document (.docx) contains the following sections:
Client Information — name, email, date of birth
Patient Diagnosis — diagnoses with codes, ASD level, maladaptive behaviors, communication methods
Insurance Information — provider, plan type, member ID, coverage dates
Service Locations — location type, address, and notes
Parent/Caregiver Information — names, relationships, contact details
Clinical Supervisor and Staff Information — clinician name, credentials, contact info
Program Sections (one per selected program):
Program status, data collection type, domain, goals, and phase changes
Target details including mastery and maintenance criteria
Charts based on your selections (program average, all targets, and/or individual targets)
Frequently Asked Questions
Can I change my program selections after exporting? Yes. Click the Back button on the Document Export step to return to Program Selection. Update your selections and generate a new export. Previous exports are not affected — they remain available in your Exported Documents list.
Can I export the same reassessment more than once? Yes. Each time you click Generate Export (or Export Again), a new document is created. All previous exports remain available for download.
How long does the export take? It depends on how many programs and charts are included. Most exports complete within 1–3 minutes. If you selected many programs with individual target charts, it may take longer.
What file format is the export? The export is a Word document (.docx). You can open it in Microsoft Word, Google Docs, or any compatible word processor.
Can I access the document later if I leave the page during export? Yes. The export continues in the background. Once it's finished, the document will be available in the client's Documents tab and in the Exported Documents section of the reassessment page.